
Even the most durable water tanks need regular maintenance and repairs to remain operational. When the owner of a 10-year-old water tank faced a tough choice – replace the entire tank or refurbish it – we stepped in with a cost-effective solution. Here’s how we restored the tank to peak condition, extending its lifespan and saving our client money.
How to assess the tank’s condition
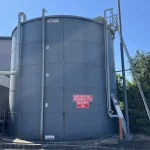
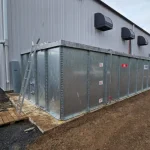
The tank was in a state of disrepair when our team arrived.
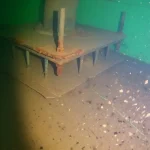
- The tank interior was rusted, particularly near the seams.
- Sediment accumulation: After years of use, sediment had accumulated at the bottom of the tank. This reduced capacity and water quality.
- Water Leaks: Small leaks around joints and the base caused water loss.
- Deteriorating Coating : The protective coating on the interior of the tank has worn away, leaving it vulnerable to further damage.
The tank was structurally sound, despite these issues, so refurbishment became a viable solution. We developed a detailed plan of restoration after a thorough inspection.
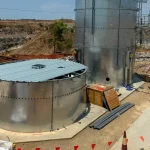
Step 1: Draining the tank and cleaning it
First, we drained the tank completely and removed all of its water. We cleaned the interior of the tank using high-pressure equipment to remove debris, algae and sediment. The process allowed us to determine the extent of rust damage and corrosive corrosion.

Step 2: Sandblasting & Rust Removal
We sandblasted all the corroded areas to remove rust and prepare the surface for repairs. This is a crucial step, as even a tiny amount of rust will lead to further deterioration. After removing the rust, we used an anti-corrosion prime to protect the metal.
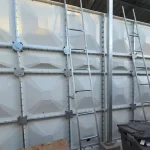
Step 3: Repairing leaks and weak points
We repaired any visible leaks using advanced sealants, and strengthened weak joints. The tank is now watertight, and can withstand the pressure of a refilled tank. The seams were given special attention, since they are the most vulnerable parts of older tanks.
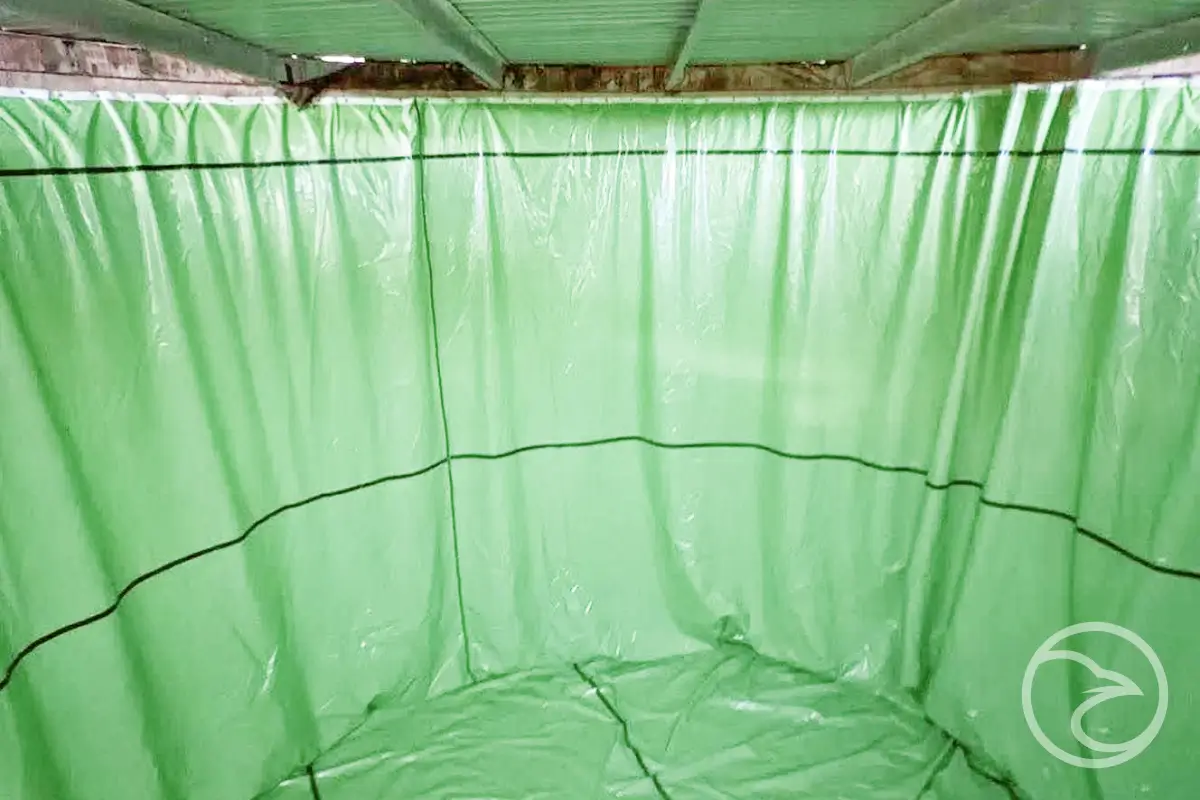
Step 4: Recoating the Interior
We applied a food-grade, durable coating to the interior of the tank in order to protect it from corrosion and contamination. This coating not only improves the structural integrity of the tank, but also ensures water safety.
Step 5: Final Testing and Inspection
We conducted a thorough check after the repairs were completed to make sure the tank met the industry standards. We checked the tank’s pressure capacity, looked for leaks and conducted a water test to confirm its refurbishment.
The result: A like-new tank
The tank looked completely different after refurbishment. The client was delighted with the result:
- Increased Durability – The structure of the tank has been reinforced to make it more durable. It can now last another decade.
- Water Quality Improvement: After the sediment was removed and the interior was recoated, the water became clean and safe.
- Cost Savings Refurbishing the tank costs significantly less than replacement, saving both time and money for the client.
- Environmental Benefits – By refurbishing the tank rather than replacing it, we minimized waste and the impact on the environment.
Why Refurbishment is a Smart Decision
Refurbishing an old water tank has several benefits.
- Cost-Effectiveness Repairing and recoating an old tank is much more cost-effective than buying a brand new one.
- Sustainability: Refurbishing an existing infrastructure reduces waste, and conserves resources.
- Minimum Downtime: A restoration can be completed much faster than a complete replacement, minimising disruptions.
The conclusion of the article is:
This project highlights the benefits of refurbishing tanks instead of replacing them. Regular inspections and timely repairs not only enhance water quality but also extend the tank’s lifespan, offering significant cost savings. If your water tank is showing signs of wear, don’t rush to replace it—refurbishing may be the smarter, more sustainable solution.
